As seen in Part 1, I’m working on the cabinet for my Star Trek: Mirror Universe project. I decided I wanted to do a little something extra for the background of the cabinet – approx where the Klingon ship would have been. I debated internally in my head if I wanted to go this far… in the end deciding “it’s my machine; make it yours!”.
I did some looking around on google images for Hubble space telescope pictures when I came across this picture of the M82 Galaxy:
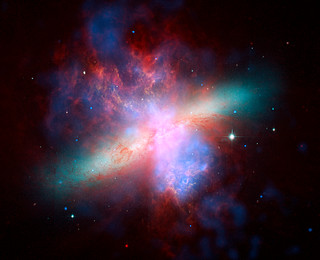
This image had the necessary items I was looking for… a purple nebula, along with a nearly black background. It also had some stars along with some nice green/white highlights.
Remember to Click the image to get higher rez shots you can zoom in on
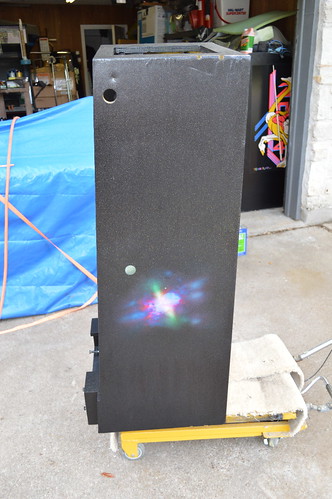
Now that I had the picture… it was time to figure out how to get in on the cabinet. I had some White backed Water slide decal paper for my color laserjet; so I figured I’d give it a shot. Some water slide work… some Airbrush work… and we are left with two similar yet uniquely different renditions of the M82 galaxy on either side of the cabinet:

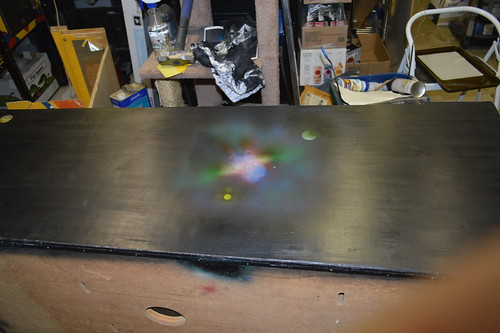
I coated the airbrush/decal work with some Matte clear spray paint while we waited on the head to cure.
I knew I wanted to do something different with the background black… that was adding holographic gold and silver flake to the topcoat before I stencil. So I did some google searching and ended up purchasing some gold and silver flake from PaintWithPearl.com. The idea was I wanted to have a star field over the black. Nothing really special about this webstore; other than they seem to be the most competitive w/ regards to color selection as well as price/ounce.
I mixed about 1/8 a tsp of silver and 1/8 tsp of gold into the poly-acrylic clearcoat which I was going to spray over the black stain to seal it. With my Harbor Freight spray gun I sprayed the cabinet and head.
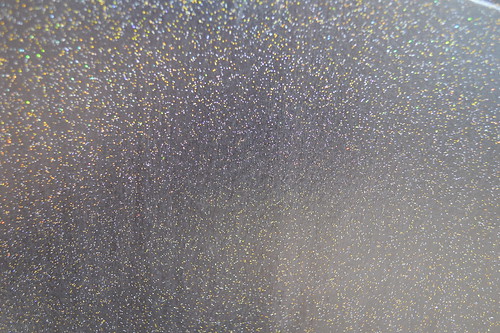
In retrospect; the metal flake at 0.004 inch was just too small… looks more like star dust; not a starry night. Ideally; I’d have gotten several sizes and mixed them for a more random look. Here’s a close up showing the gold/silver flakes:
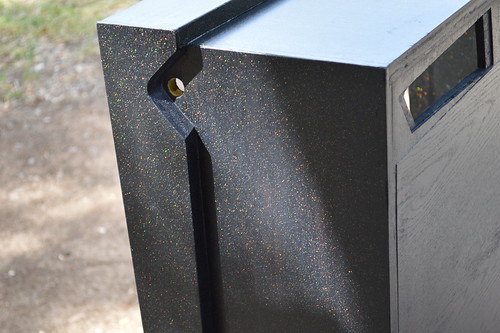
Here’s an attempt to capture the holographic nature of the flakes in the sunlight:
If I had it to do over… I’d probably have used less “dust”… and gotten some larger flakes to try and break up the eye candy… I may still try to apply some bigger flake; but honestly… I don’t want to spend more time / money on the internet. Maybe I’ll feel differently tomorrow.
In general; I’m pleased with the result… just need to put the finishing touches on the stencil designs so I can start that process.